Alright, folks! Today I wanna chat about how to color silicone in artistic creation. As an artistic creation silicone supplier, I've seen the magic that colored silicone can bring to all sorts of projects. So, let's dive right in!

Why Color Silicone?
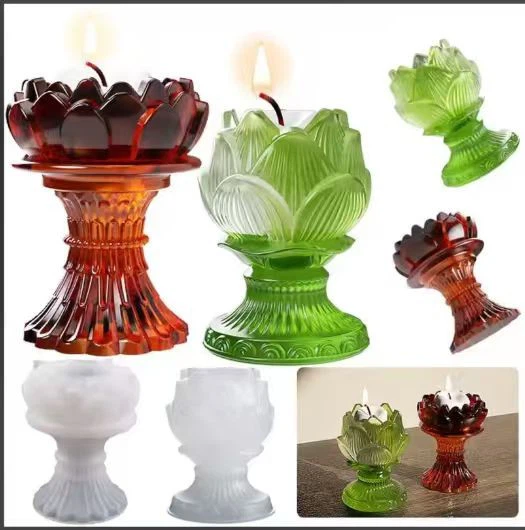
First things first, why would you want to color silicone? Well, the answer's simple. Colored silicone can take your artistic creations to a whole new level. It adds a pop of personality, makes your work stand out, and allows you to express your creativity in ways that plain silicone just can't. Whether you're making jewelry, sculptures, or even home decor items, colored silicone can be the key to making your piece truly unique.
Types of Silicone for Artistic Creation
Before we get into the coloring process, let's talk about the different types of silicone you can use. We offer a variety of silicones suitable for artistic endeavors. For instance, Silicone used for making glassware molds is great if you're into creating molds for glass pieces. It has the right consistency and properties to ensure a perfect mold every time.
Then there's Silicone For Large - scale Stone Buildings. If you're working on big - scale artistic projects like replicas of stone buildings, this silicone is up to the task. It's durable and can handle the size and complexity of such projects.
Choosing the Right Colorant
Now, onto choosing the colorant. The type of colorant you pick depends on a few factors, such as the type of silicone you're using, the desired final effect, and how long you want the color to last.
There are two main types of colorants: pigments and dyes. Pigments are solid particles that are dispersed in the silicone. They're great for high - opacity colors and are more fade - resistant compared to dyes. Dyes, on the other hand, dissolve in the silicone, creating a more translucent and vibrant color.
When choosing a colorant, make sure it's compatible with the silicone you're using. Some colorants are specifically formulated for certain types of silicone, so it's important to read the labels carefully.
The Coloring Process
Step 1: Prepare Your Workspace
Before you start coloring, set up a clean and well - ventilated workspace. You don't want any dust or debris getting into your silicone mixture. Lay down some protective covering, like a plastic sheet, to make cleanup easier.
Step 2: Measure Your Silicone and Colorant
Measure the amount of silicone you need for your project. It's important to be precise here, as the ratio of silicone to colorant will affect the final color. As a general rule, start with a small amount of colorant and gradually add more until you reach the desired shade.
Step 3: Mix the Colorant with the Silicone
Add the colorant to the silicone and start mixing. Use a spatula or a stir stick to combine the two thoroughly. Make sure to scrape the sides and bottom of the container to ensure an even distribution of the colorant.
If you're using a pigment, you may need to mix it for a longer time to break up any clumps. You can also use a high - speed mixer for a more consistent blend, but be careful not to introduce too many air bubbles.
Step 4: Remove Air Bubbles
Once the colorant is fully mixed with the silicone, it's time to get rid of any air bubbles. Air bubbles can ruin the look of your final product, so it's important to remove them. You can use a vacuum chamber to suck out the air bubbles or simply let the silicone mixture sit for a while to allow the bubbles to rise to the surface and pop.
Step 5: Pour or Shape the Colored Silicone
After the air bubbles are removed, you're ready to pour or shape the colored silicone into your mold or onto your project surface. Work quickly, as the silicone will start to cure over time.
Tips and Tricks
- Test the color on a small sample first. This way, you can see how the color looks in the final product before committing to a large batch.
- If you want a marbled or swirled effect, don't mix the colorant too thoroughly. Just give it a few gentle stirs to create a beautiful, natural - looking pattern.
- Store your colored silicone properly. Keep it in a cool, dark place to prevent the color from fading.
Other Silicone Products for Artistic Creation
We also offer Condensation Mold Silicone Inks For Veitnam Candles. These inks are perfect if you're creating candles with unique designs. They can be used to add intricate patterns and colors to your candle molds.
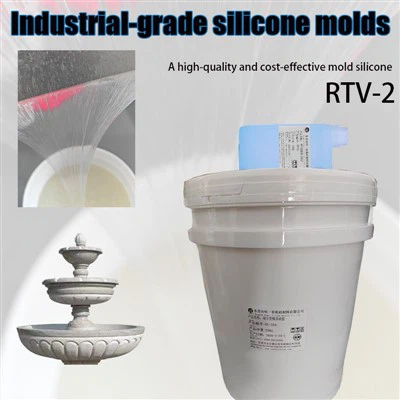
And for those of you who need high - quality industrial - grade silicone for molds, we have Industrial - grade Silicone For Molds. It's strong, durable, and can handle the demands of industrial - scale artistic projects.
Of course, our Condensation Mold Silicone is a versatile option that can be used in a wide range of artistic applications.
Conclusion
Coloring silicone in artistic creation is a fun and rewarding process. It allows you to bring your creative visions to life in ways you never thought possible. With the right silicone, colorant, and techniques, you can create stunning works of art that will impress everyone.
If you're interested in purchasing our artistic creation silicone products or have any questions about the coloring process, don't hesitate to reach out. We're here to help you make your artistic dreams a reality.
References
- General knowledge of silicone properties and coloring techniques.
- Product information from our in - house research and development.