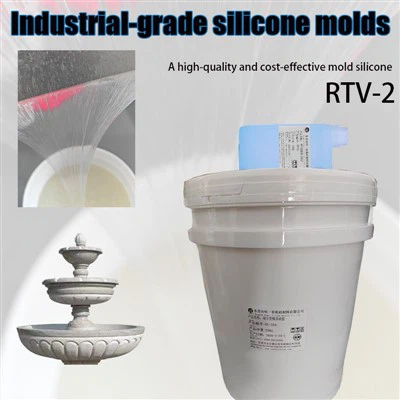
Alright, folks! If you're into making molds, especially those long - thin ones, you've come to the right place. I'm a supplier of mold silicone liquid, and I'm here to share with you how to make a long - thin shape mold using our awesome mold silicone liquid.
Understanding the Basics of Mold Silicone Liquid
First off, let's talk a bit about what mold silicone liquid is. It's a super - versatile material that can be used to create all kinds of molds. There are different types of silicone molds, and understanding them is crucial for this project. You can check out What Are The Different Types Of Silicone Molds? to get a better grasp of the various types out there.
The silicone liquid we supply is top - notch. It's designed to be easy to work with, has great flexibility, and can capture even the tiniest details of your long - thin shape. Whether you're making a mold for jewelry, candles, or some other craft, our mold silicone liquid is up for the task. For those interested in making candle silicone molds, The Silicone Liquid Used For Making The Silicone Mold For Candles provides more targeted information on how our product can be used in that area.
Preparing for the Mold - Making Process
Gather Your Materials
Before you start making the mold, you need to gather all the necessary materials. Besides our mold silicone liquid, you'll need:
- A master model of the long - thin shape. This is the object that you want to make a mold of. It could be a piece of wire, a thin plastic rod, or any other long and thin object.
- A container to hold the silicone liquid and the master model. Make sure the container is big enough to accommodate the model with some extra space around it.
- Mixing tools like a stirring stick and a measuring cup. You'll use these to measure and mix the components of the silicone liquid properly.
- Release agent. This helps prevent the silicone from sticking to the master model and the container.
Prepare the Master Model
Take your master model and clean it thoroughly. Any dirt, dust, or grease on the model can affect the quality of the mold. Once it's clean, apply a thin layer of release agent. You can use a brush or a spray, depending on the type of release agent you have. Let the release agent dry completely before moving on to the next step.

Mixing the Mold Silicone Liquid
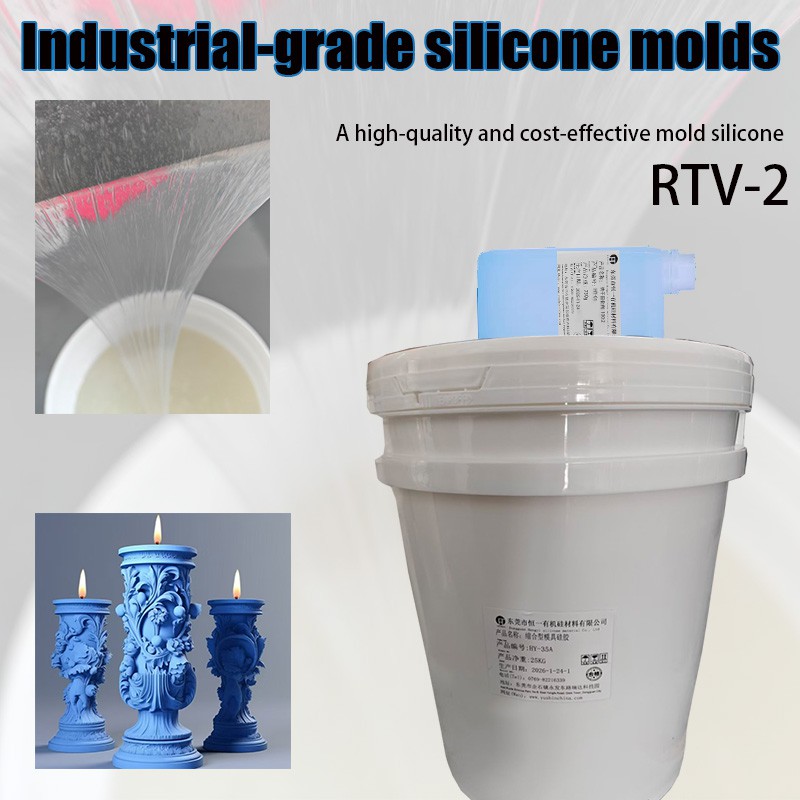
Now, it's time to mix the silicone liquid. Our mold silicone liquid usually comes in two parts: the base and the catalyst. The ratio of the base to the catalyst is very important, so make sure you follow the instructions carefully.
- Measure the right amounts of the base and the catalyst using the measuring cup. For example, if the ratio is 10:1, measure 10 parts of the base and 1 part of the catalyst.
- Pour the base into a clean container. Then, slowly add the catalyst while stirring constantly with the stirring stick. Make sure to mix the two components thoroughly. You want to get rid of any air bubbles that might form during the mixing process. You can use a vacuum chamber or simply let the mixture sit for a few minutes to allow the bubbles to rise to the surface and pop.
Creating the Mold
Pouring the Silicone
Once the silicone liquid is well - mixed, it's time to pour it into the container with the master model. Tilt the container slightly and pour the silicone slowly along one side. This helps prevent air bubbles from getting trapped in the mold. Make sure the silicone completely covers the master model.
Degassing (Optional but Recommended)
If you have a vacuum chamber, you can place the container with the poured silicone inside it. Evacuate the air to remove any remaining air bubbles. This step can significantly improve the quality of the mold, especially for long - thin shapes where air bubbles can cause defects.
Curing
Let the silicone cure according to the instructions. The curing time depends on factors like the temperature and the type of silicone. In general, it can take anywhere from a few hours to a couple of days. During the curing process, make sure the container is in a stable place and not disturbed.
Removing the Mold
Once the silicone is fully cured, it's time to remove the mold. Start by carefully peeling the silicone away from the container. Then, gently pull the master model out of the silicone mold. If the mold doesn't come off easily, you can use a sharp tool to carefully separate the model from the mold, but be very careful not to damage the mold.
Using the Mold
Your long - thin shape mold is now ready to use! You can pour different materials into the mold, like resin, wax, or plaster, depending on your project. Just make sure to apply a release agent to the mold before pouring in the material to make it easier to remove the finished product later.
Why Choose Our Building Silicone Mold Liquid?
Our Building Silicone Mold Liquid is a great choice for making long - thin shape molds. It has high tear strength, which means the mold can withstand the process of removing the master model and subsequent casting without tearing. It also has excellent flexibility, allowing it to capture the fine details of your long - thin shape.
If you're interested in starting your own mold - making projects or need a reliable supply of mold silicone liquid, don't hesitate to reach out. We're here to answer any questions you might have and help you get the best results. Whether you're a hobbyist or a professional, our mold silicone liquid can meet your needs. Contact us today to discuss your requirements and get started on your next exciting mold - making adventure!
References
- General knowledge on mold - making with silicone liquid
- Product specifications of our mold silicone liquid.