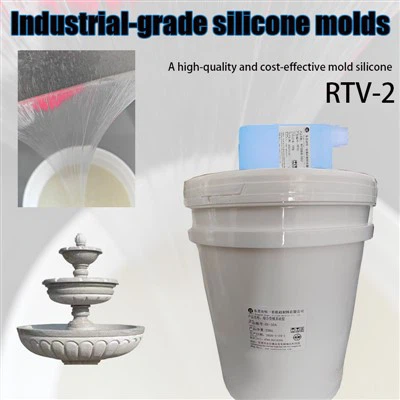
As a provider of artistic creation silicone, I understand the importance of durability in silicone art. Whether you're crafting intricate molds for candles, creating detailed sculptures, or designing unique pieces of art, ensuring the longevity of your silicone creations is crucial. In this blog post, I'll share some valuable tips and techniques to make your silicone art more durable.
Choose the Right Silicone
The first step in creating durable silicone art is selecting the appropriate silicone product. Not all silicones are created equal, and different projects may require different types of silicone. For example, if you're making molds for candles, you'll need a silicone that can withstand the heat of the wax. The The Silicone Liquid Used For Making The Silicone Mold For Candles is an excellent choice for this purpose. It's specifically designed to create high-quality molds that can withstand the rigors of candle-making.
On the other hand, if you're looking for a high-performance silicone for general mold-making, the High Performance Mold Making Silicone - Tin Cure is a great option. This silicone offers excellent tear strength and flexibility, making it ideal for creating detailed molds.
Prepare the Surface
Proper surface preparation is essential for ensuring the adhesion of the silicone to the mold or object you're working with. Before applying the silicone, make sure the surface is clean, dry, and free of any dust, grease, or debris. You can use a mild detergent and water to clean the surface, followed by a thorough rinse and drying.
If you're working with a porous surface, such as wood or plaster, it's a good idea to apply a primer or sealer to the surface before applying the silicone. This will help to create a smooth, even surface and improve the adhesion of the silicone.
Mix the Silicone Properly
Mixing the silicone correctly is crucial for achieving a strong, durable bond. Follow the manufacturer's instructions carefully when mixing the silicone, and make sure to use the correct ratio of base and catalyst. Overmixing or undermixing the silicone can result in a weak bond or a product that doesn't cure properly.
Use a clean, dry container and a mixing tool to combine the base and catalyst. Stir the mixture thoroughly for the recommended amount of time, making sure to scrape the sides and bottom of the container to ensure that all of the silicone is mixed evenly.


Pour the Silicone Slowly
When pouring the silicone into the mold or onto the object, it's important to do so slowly and carefully. Pouring the silicone too quickly can cause air bubbles to form, which can weaken the final product. Use a pouring spout or a syringe to control the flow of the silicone and avoid creating air pockets.
If you notice any air bubbles in the silicone, you can use a toothpick or a small tool to pop them before the silicone cures. You can also use a vacuum chamber to remove any air bubbles from the silicone before pouring it into the mold.
Cure the Silicone Properly
Curing the silicone properly is essential for achieving a strong, durable bond. Follow the manufacturer's instructions carefully when curing the silicone, and make sure to allow enough time for the silicone to fully cure. The curing time can vary depending on the type of silicone and the temperature and humidity of the environment.
In general, it's a good idea to allow the silicone to cure for at least 24 hours before removing it from the mold or using it. You can also use a heat source, such as a heat gun or an oven, to speed up the curing process. However, be careful not to overheat the silicone, as this can cause it to become brittle or crack.
Protect the Silicone Art
Once your silicone art is complete, it's important to protect it from damage. Avoid exposing the silicone art to direct sunlight, extreme temperatures, or harsh chemicals. You can also apply a clear coat or a protective finish to the silicone art to help protect it from scratches, stains, and other types of damage.
If you're storing the silicone art, make sure to keep it in a cool, dry place. You can also wrap the silicone art in a soft cloth or a plastic bag to protect it from dust and other debris.
Conclusion
By following these tips and techniques, you can make your silicone art more durable and long-lasting. Remember to choose the right silicone, prepare the surface properly, mix the silicone correctly, pour the silicone slowly, cure the silicone properly, and protect the silicone art from damage. If you have any questions or need further assistance, please don't hesitate to contact us. We're here to help you create beautiful, durable silicone art.
If you're interested in purchasing our artistic creation silicone products, please feel free to reach out to us for a detailed discussion. We're committed to providing high-quality silicone products and excellent customer service. Let's work together to bring your creative ideas to life!
References
- Manufacturer's instructions for silicone products
- Industry best practices for silicone art creation